Ingredients:
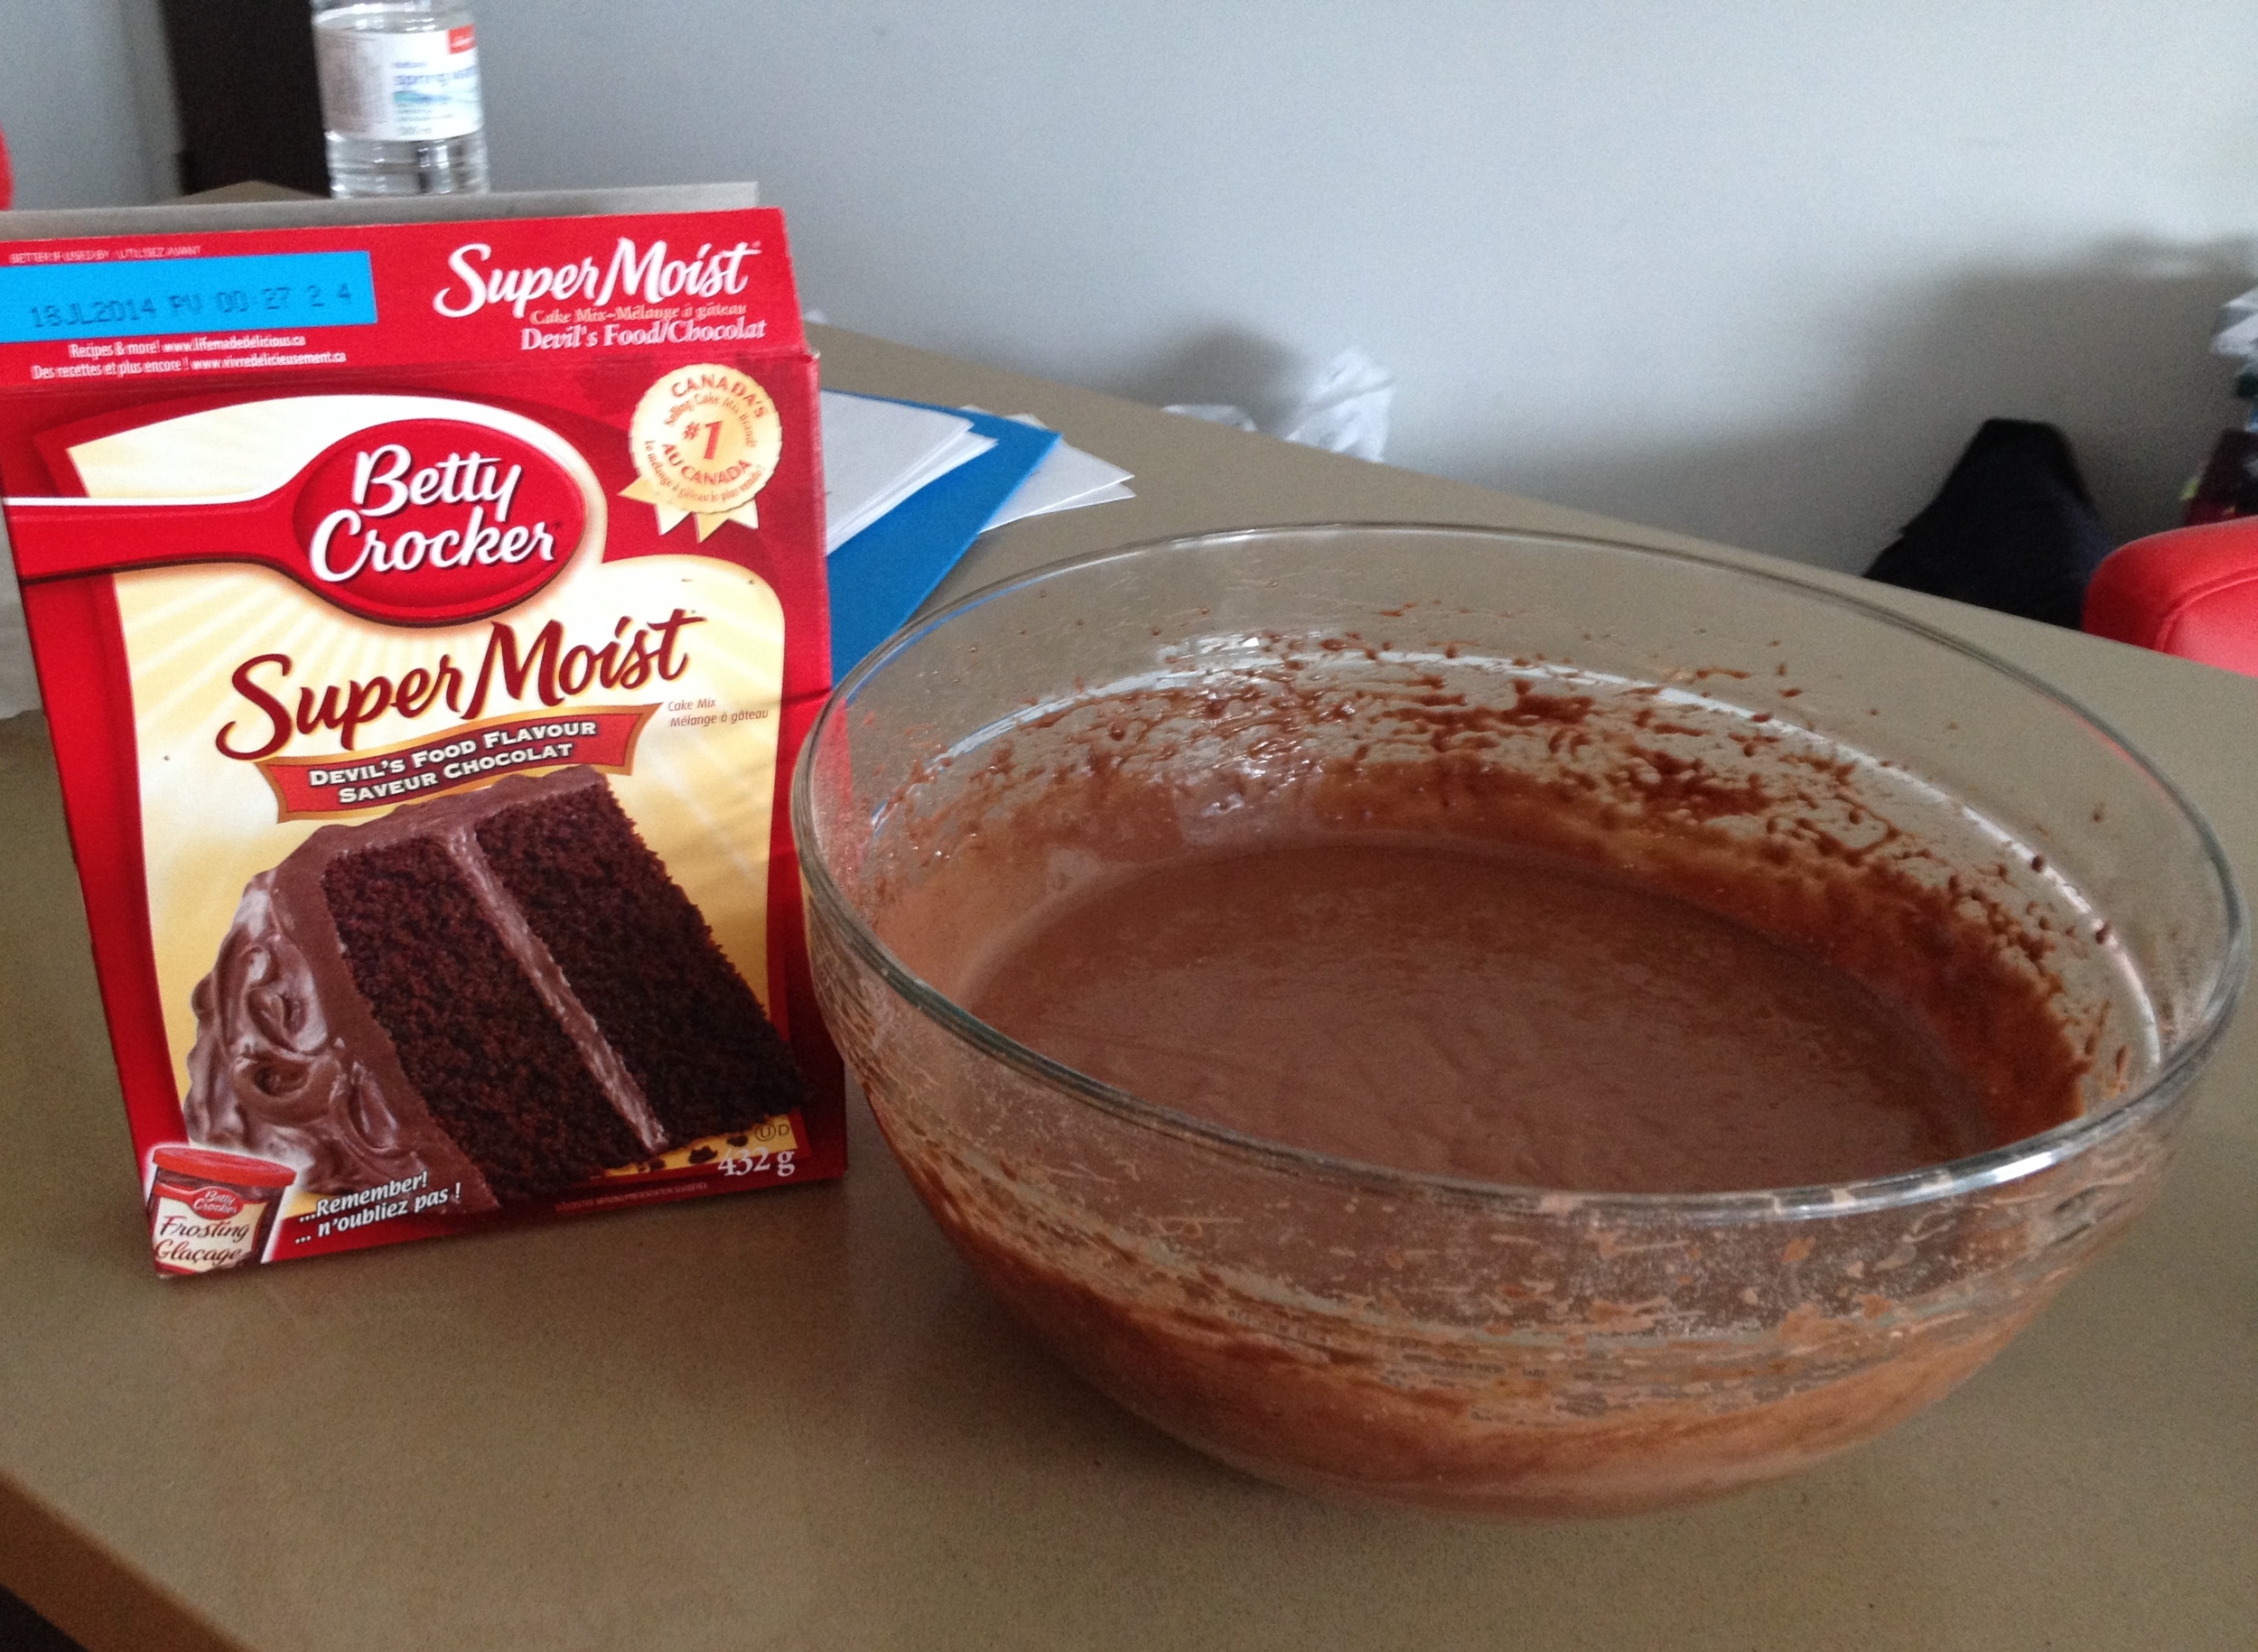
Prepared cake or cupcakes (I used a Devil’s food cake boxed cake)
10 oz of semi-sweet or dark chocolate
½ cup heavy cream
Bag of chocolate chips
1 tsp of vegetable oil
Lollipop sticks (I got mine from Creative Bag)
***Update: you can use Candy Melts instead of chocolate chips, Candy melts harden and create a nice shell around the cake making it easier to work with but in my opinion do not taste as good as real chocolate***
Directions:
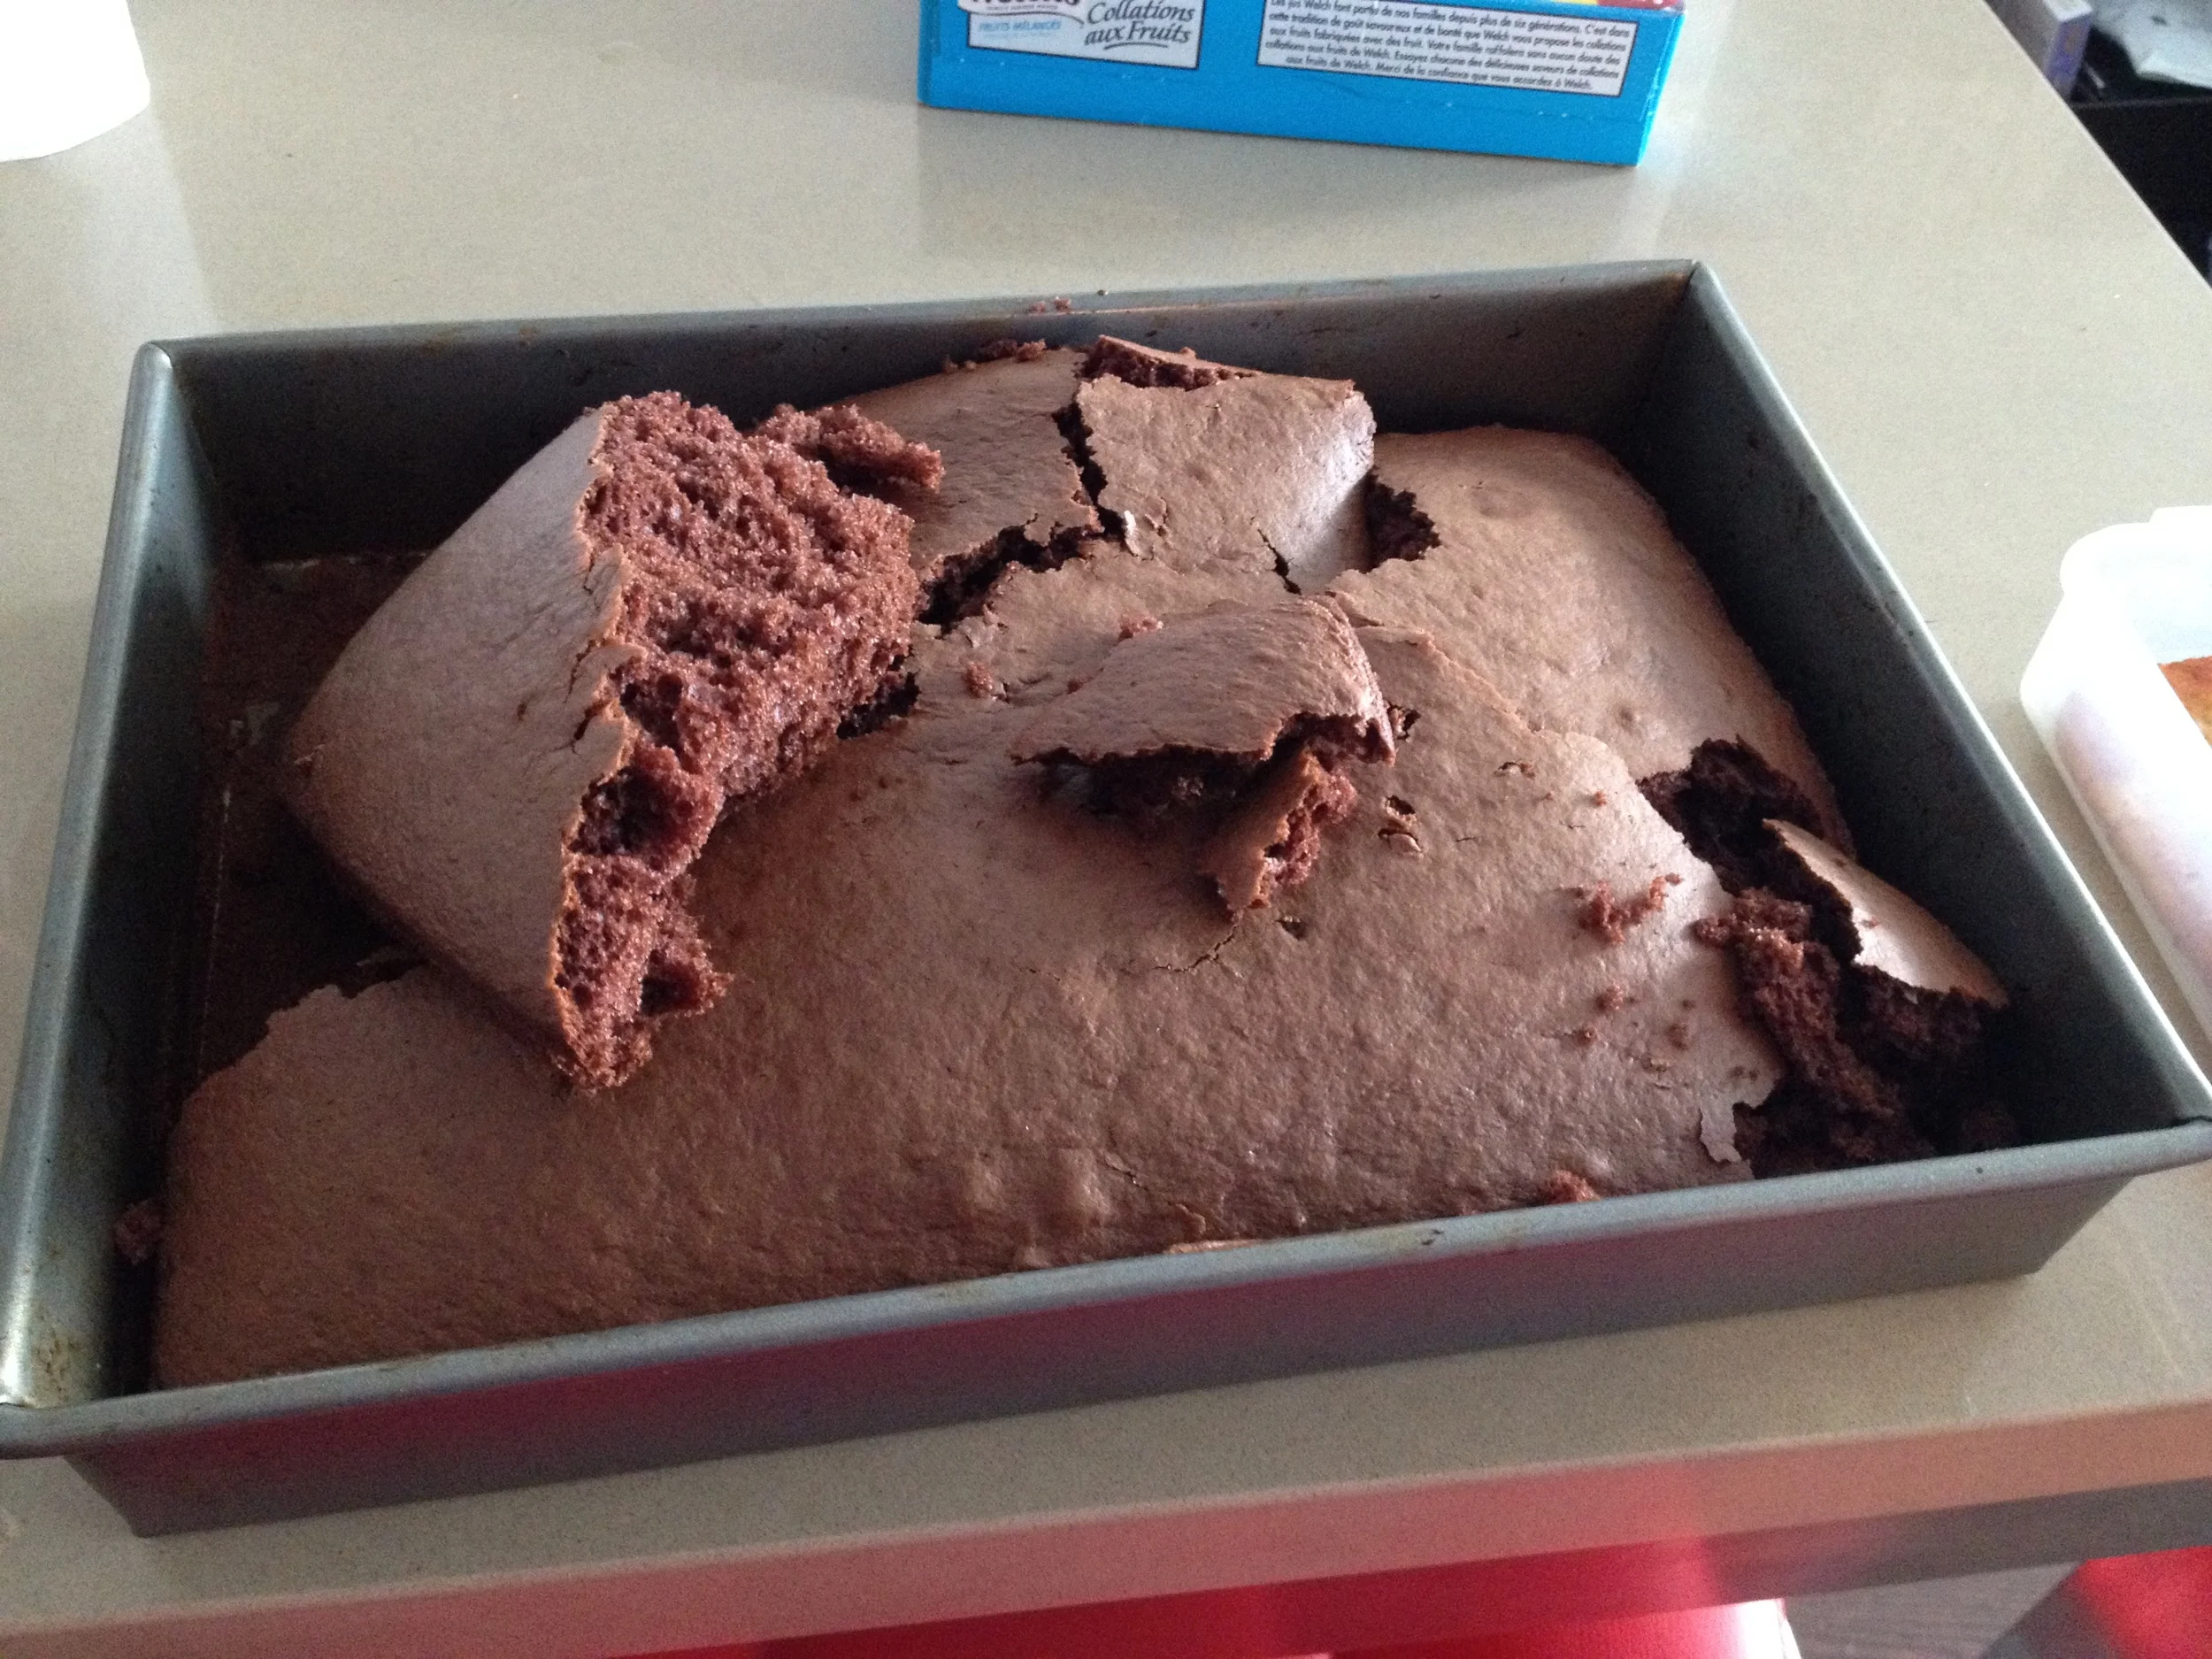
You can use pre-made cakes, such as coffee cake or marble cake, or you can go ahead and bake something your self. I used a box cake because I like the light texture. Bake according to the box and let it cool.
This cake pop recipe uses a ganache filling instead of a buttercream filling. The ganache will give you a less sweet cake pop but it will be more decadent. To make the ganache, add the 10oz of semi-sweet or dark chocolate and ½ cup of cream. Microwave for 30 seconds, take out of the microwave and stir. Continue to microwave at intervals of 30 seconds and stir after each time until your ganache is smooth. Do not over cook it otherwise your ganache will burn.
In a large bowl break apart your cake until you get a coarse crumb consistency. Add the ganache to your cake (first add 2/3rds, if more is required add more), mix well with your hands. You can use a spoon but using your hands really gets the ganache incorporated into the cake crumbs. Once you have a thick enough consistency to mold the cake mixture you can begin forming the balls.
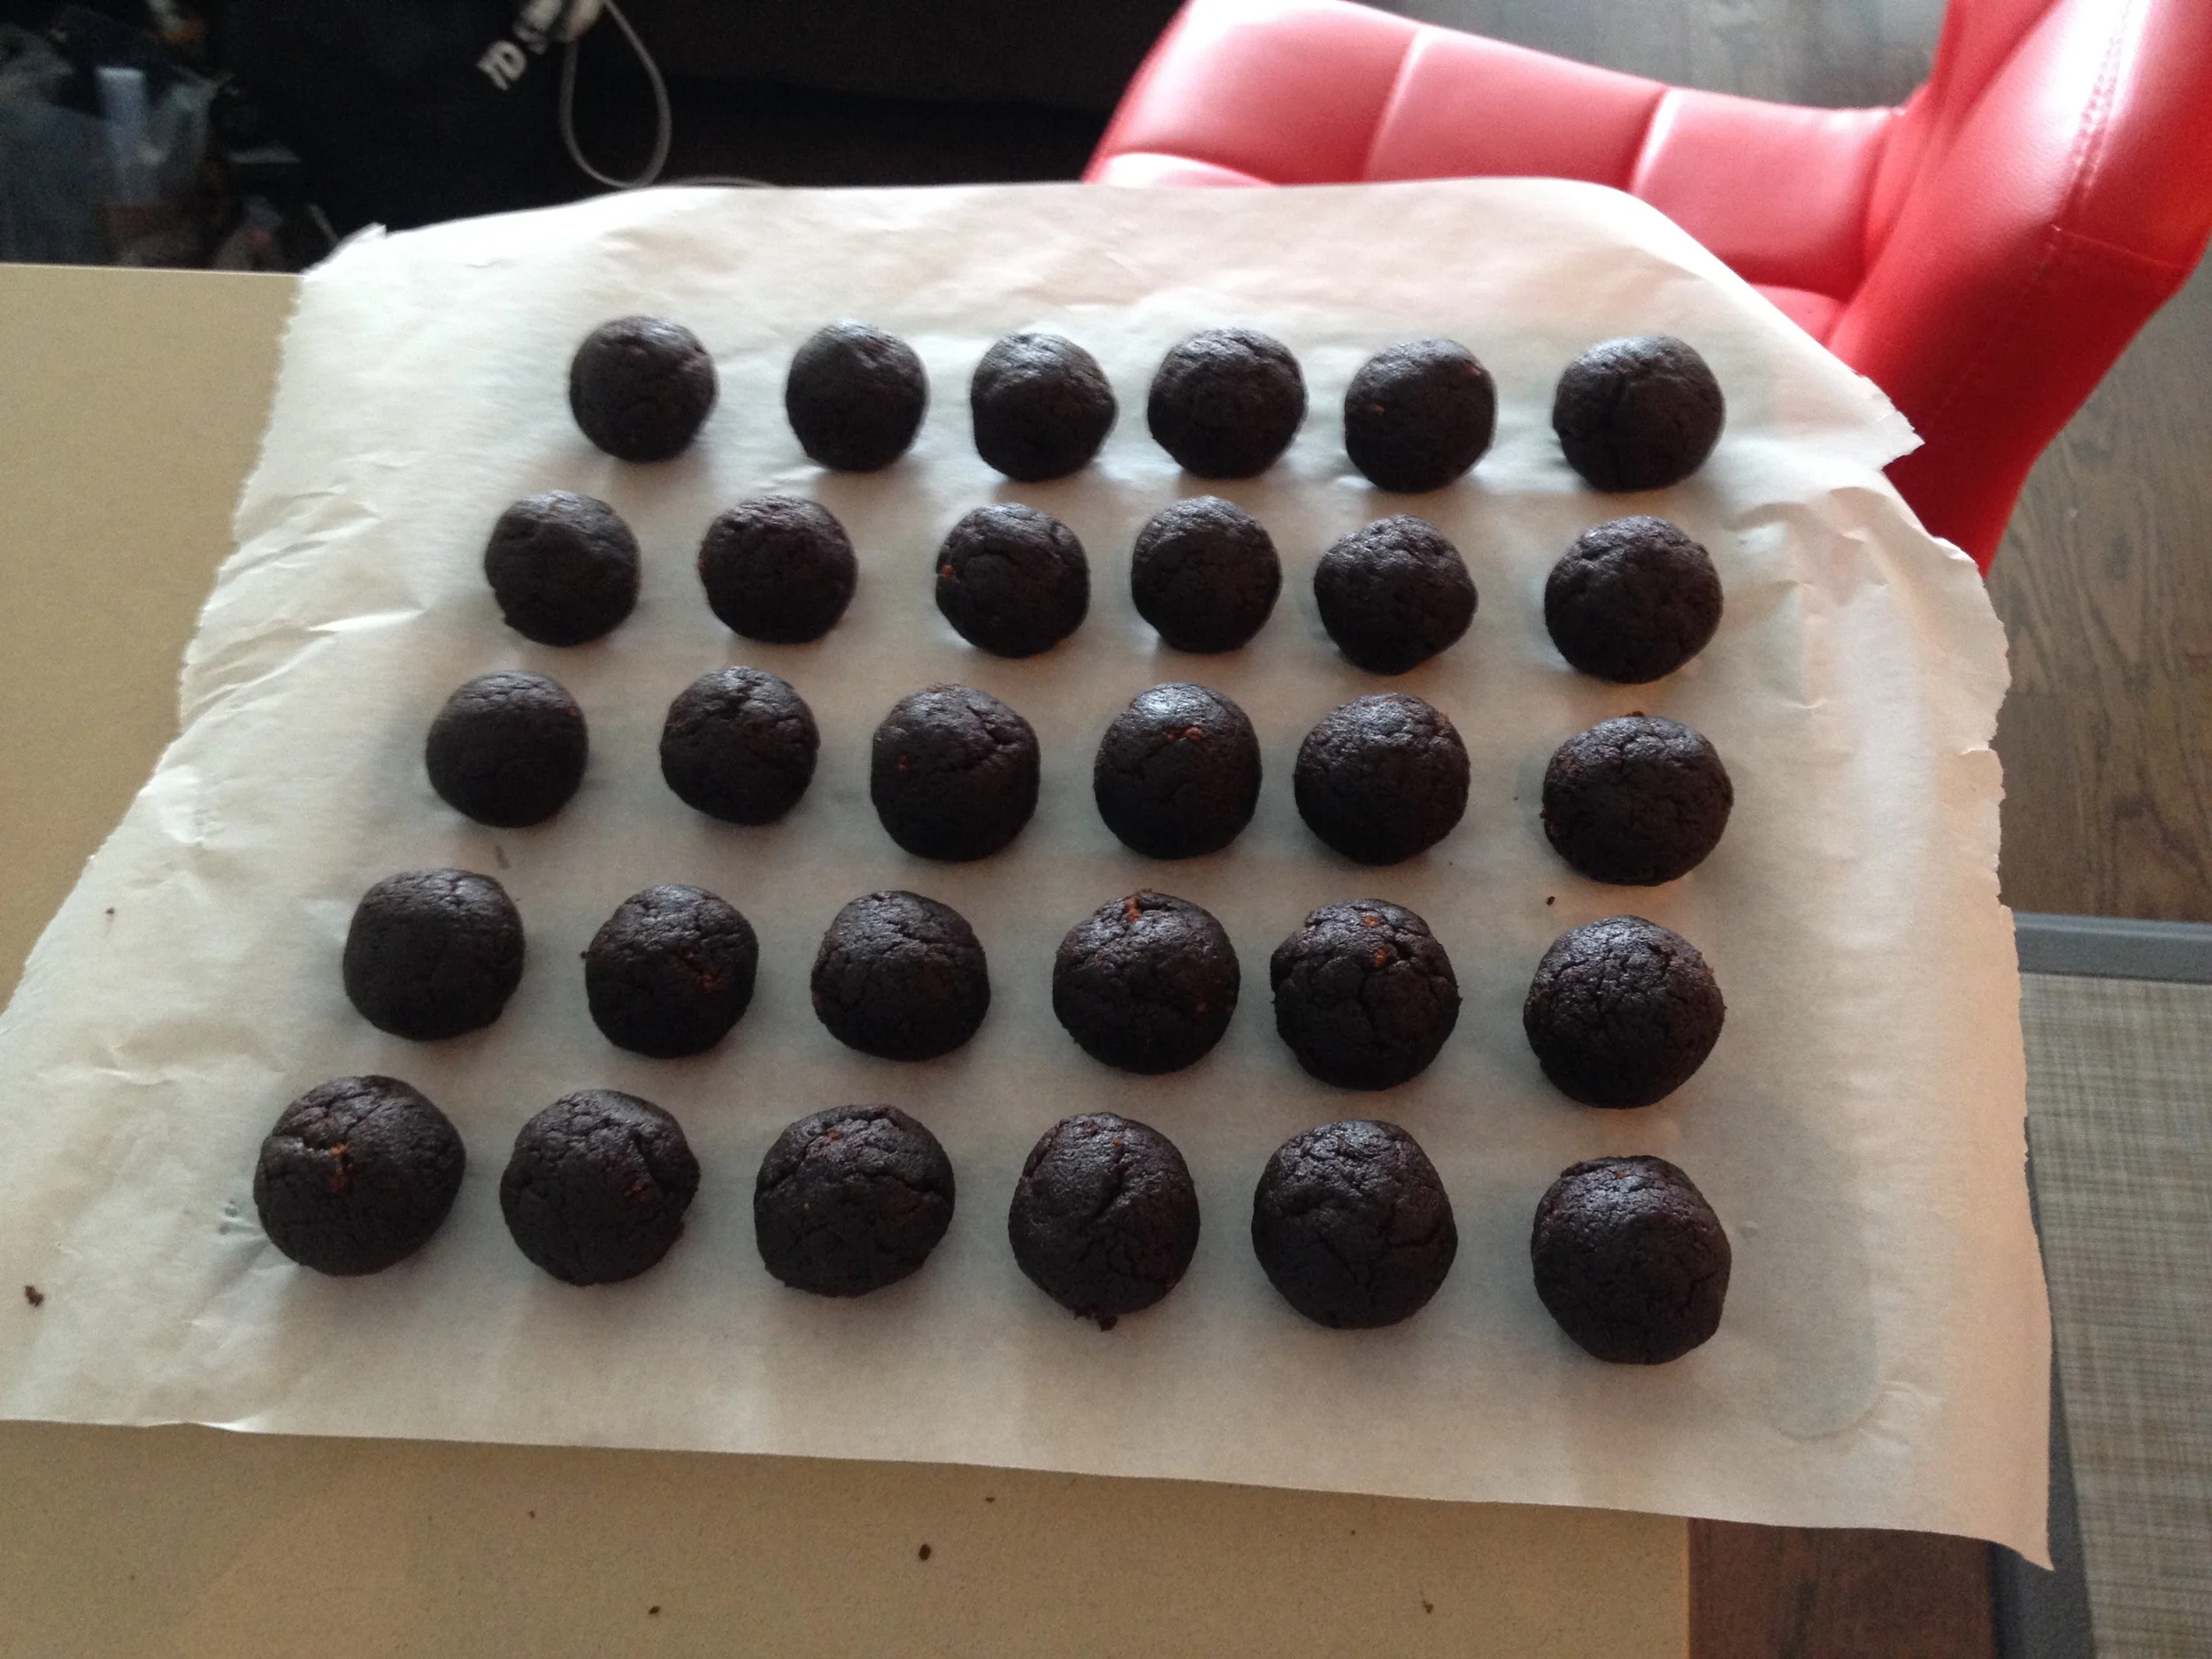
Line a baking sheet with parchment paper and begin rolling spoonfuls of cake mixture into balls with the palm of your hands. You can use cookie scoops to keep the sizes all uniform. Once you’ve rolled out all your cake mixture, place the cake balls into the fridge for 15 to 20 minutes.
In the meantime, using a double boiler, add your chocolate chips and oil (see chocolate covered strawberries for detailed directions) and melt until very smooth.
Remove cake balls from the fridge. Take your lollipop stick and dip them into your chocolate mixture about 1 centimeter down, tap off excess chocolate and stick into your cake ball about half way in. This step is very important because it creates a seal and helps to keep the cake ball from slipping off the stick. Continue until all your cake balls have sticks. Place in the fridge for 5 to 10 minutes to harden.
Re-heat your chocolate if it has cooled down. Transfer your chocolate to a mug or small narrow container, this makes dipping easier. Remove cake pops from the fridge and carefully dip your cake pop straight into the chocolate, ensuring the cake is completely covered. Slowly pull your cake pop straight up and on a 30 degree angle turning slowly to allow excess chocolate to drip off. Put your cake pop in a Styrofoam block or cake pop holder (I bought mine from creative bag, but found it didn’t work very well).
Allow your cake pops to set at room temperature for approximately 1 hour before transferring to the fridge. The chocolate coating will crack if there is an immediate change in temperature, so allow them to harden at room temperature before refrigerating.
***Update: If you do use candy melts, there is no need to refrigerate the cake pops as the melts will harden and create a protective shield around the cake***
These cake pops are so delicious, they are decadent and rich without being too sweet. However, cake pops take lots of patience! Do not get discouraged, keep trying and even if they don’t look amazing the first time around they will still be delectable. This was my first time trying them and they didn’t turn out as pretty as I had hoped, but the flavour and moistness was perfect!


